Showing posts with label work in progress. Show all posts

Friday, 11 April 2014

Nurgle chaos spawn conversions (work in progress)

Recently I've been preparing an army list for the Corehammer 'Dark Throne' tournament that's coming up in a couple of weeks.

My army list features 2 units of spawn with the mark of Nurgle. The first of these units is represented by a set of three Plague Toads which I've been working on recently. The second unit is going to be based around the rat ogre models from the Island of Blood set.

Thus far I've managed to get a hold of two rat ogres for conversion purposes. Here is what happened when I had a go at combining them with some bits from the Talos Pain Engine and the Hellpit Abomination...


Tuesday, 18 March 2014

Blight Drone work in progress part 2

As a follow on to last week's post, here is some more work in progress.  I've been trying to spend a bit of time on this most days, with varying degrees of success...  Love this kit.

Really happy with the results so far.

Mainly, I've worked on:

1. the base for the model, which I've added some spare parts from the Cties of Death kits to, along with some Pegasus bricks, and some Army Painter tufts
2. some glazes and washes on the slug part of the body
3. Gluing the kit together.

This work has been carried out with the audio assistance of the Lawrence Arms, the Doughboys, Samiam, Suicidal Tendencies, Mega City Four and Dillinger Four.


Monday, 10 March 2014

Blight Drone (work in progress)

Well over a year ago, I bought the amazing Blight Drone kit from Forge World, and over the last week or so, I've finally gotten around to getting some paint on it.  I've still got a considerable way to go to get this beast finished, but I thought I'd share what I've done so far.

I think for a while I'd been worried about accidentally trashing this amazing kit by doing a poor paint job on it.  That's why it had remained untouched for so long.

Once I got into the swing of this, I decided to do something else I'd been putting off for ages. Using the Vallejo weathering pigments I'd bought over 2 years ago.  Again, I'd been terrified of wrecking a cherished model by messing up in the application of this stuff. I'd had no idea how to use them, and incredibly, didn't even bother looking at any tutorials.  I'm an idiot.  This stuff is really, really simple to use, and great fun to mess about with. Truly I am fool of preposterous proportions (disclaimer: Tony of Nurgle is by no means bloated or fat).

This is an airbrushed base coat washed with Typhus
Corrosion

The "slug" part is a coat of Russian Green primer and
a further coat of Duck Egg applied by airbrush, then
washed with my "murk" mix

The first bit of pigment application was done on the turbines in order to try
and get a feel for how they worked. I just made a paste with a bit of water, a
bit of Vallejo Matt Varnish and some pigments. I then applied some more
pigments in a lighter shade onto the paste (use a shitty brush for this).

Natural light

more natural light

The flash here shows the varying layers of pigment. It looks less crap in
natural light, though

More flash illumination


Thursday, 13 February 2014

World Building part 5 - Adeptus Mechanicus Shrine to the Omnisiah (W.I.P)

The next terrain piece I've been working on is a Adeptus Mechanicus Shrine to the Omnisiah.   This is basically the pieces from the GW Manufactorum kit that you get in the Imperial Sector box set.

The idea behind this was that having an actual manufactorum didn't seem to fit with the Shrine World plan, so I had to think outside the box somewhat. What kind of Adeptus Mechanicus type structure could I realistically justify on a Shrine World? It would obviously need to be a shrine of some kind.

From the Mechanicus perspective the space would need to be used in the most efficient way possible, so it seemed obvious to me that the structure would be multi-purpose. In this  particular case, I've tried to conjure up the sense of a pumping station that provides water from an underground source (obviously consecrated) for general purposes, irrigation of gardens, holy water etc. (this is what I envisage in my head). I'm planning on adding a small fountain or something to one of the other buildings.

The outflow pipe flows into a small pool. I'm thinking this could perhaps be the type of shit lepers bathe in at Lourdes or something. Or more likely where chemicals and mineral particulates are filtered out in the form of slurry.


Friday, 3 January 2014

There's orks skulking about in the park... Terrain W.I.P

I've managed to do a bit of work on my first piece of terrain, for my forthcoming, ahem... gaming table.  It's the battlescape made by Games Workshop.

Pretty simple to build, but it did need a fair bit of green stuff around where the trees fix to the base. Given how well GW plastic kits generally go together these days, quite why there should be massive gaps of this kind I have no idea.  In addition, the vision slot on the front of the wrecked rhino needed to have both end cut off to fit on the model. Bizarre.

Paint job is W.I.P. but has been pretty simple so far.

Airbrush undercoat in black, followed by an airbrush overspray of grey and black in a roughly 2:1 ratio.

Trees painted in GW Graveyard Earth, washed in a mix of the old GW brown ink and Devlan Mud. Further dry brush in Graveyard Earth, and a second wash with Devlan Mud.

Rhino had a thinned coat of GW Warplock Bronze applied with a large brush. Was then streaked with GW Boltgun Metal using an old dry brush. The new GW Typhus Corrosion technical paint was then applied liberally to the whole rhino (this is an excellent new paint, by the way - kind of like a textured wash). Once this had dried, a rough stipple of Calthan Brown was applied to the whole of the tank.

Throw in a bit of blue on the marine bits (face it, the Smurfs are boring) and that's pretty much it thus far.


Tuesday, 4 September 2012

More Ad Mech madness

The bits box took a mild leathering.

Firstly, I scratch-built some kind of anti-grav weapons platform thingy.

Had to crank up the levels using Photoshop a bit, black undercoat doesn't like to be photographed apparently...
The weapons platform consists of 2 heavy bolters from a Sisters of Battle tank sprue, the anti-grav/hover plate doobery underneath is an old Rhino hatch I think, the other stuff I honestly couldn't say... not sure if this fits into an Ad Mech army, but it was good practice for me to build it!

The servitor crew are Void miniatures (Junkers, I think?) with extra mechanicalness added. I bought them originally to use as Adeptus Arbites in my Witch Hunters army many moons ago.

I also painted up a couple of Servo Skulls and made another one from various shiznit I had laying around. These will mainly be used as objective markers I think.

Blood Angel, skull split with his own combat knife. Unlucky.

This one was cobbled together using skulls from a Lizardmen sprue, 2 administrators still hot-desking for the Machine God after death? Needs more work, skulls look flat and the tubes need tidying up a bit.
Next on the agenda is to paint up the weapons platform and servitors, then I need to finish converting a Tech-Priest/Enginseer I started...

Loving it!

Also, for your information and piece of mind, I have been mainly listening to Rust in Peace by Megadeth and Roots and Crowns by Califone. Also, I have been eating waffles.

Thursday, 3 May 2012

Death Guard predator W.I.P part 3...

I've been busy working on this for a while now.  Happy to say that it is nearly done.

Verdict on tank painting?  The base coating part is annoying, but after that it gets a bit better.

Still not fully convinced though. Ahem.

So here are some pictures of the nearly finished article.  Bear in mind that it does need some finishing off and tidying up.


Thursday, 19 April 2012

Death Guard Predator W.I.P part 2

So since I last posted, I've done a bit more work on the ol' predator.

I know I was massively grumbling about finding the painting of vehicles massively boring, but I think I may have to readjust that statement:

Painting the base coat on vehicles is very boring. Doing the later stages is... kind of OK.

So basically, since last time I did some shading around the detail and in the recesses with good old reliable Devlan mud in bountiful quantities.

After that had dried up, I did some tidying up with the original base colours.

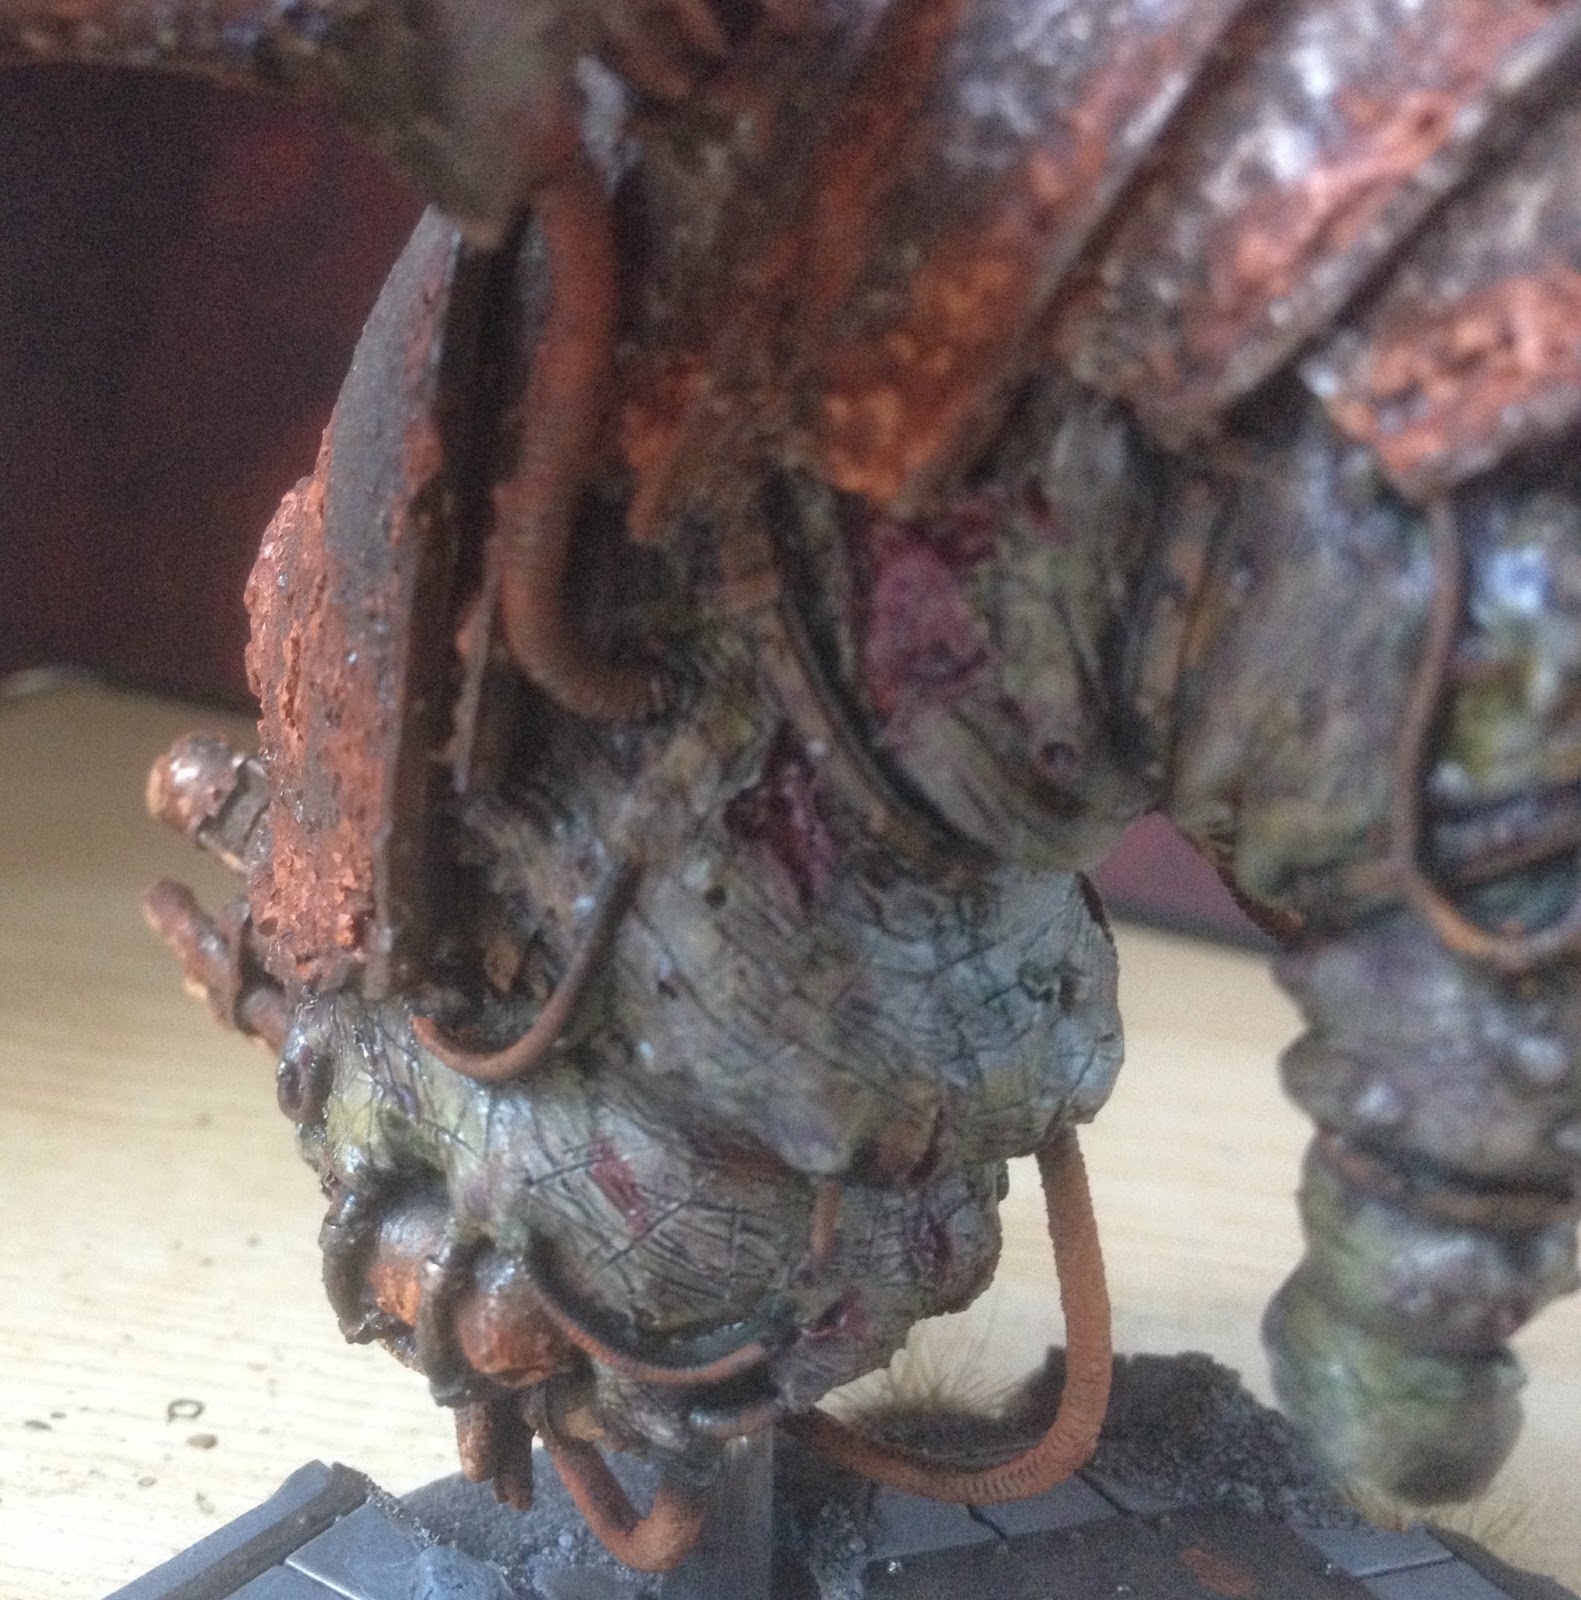
A problem that I've encountered on this one is that the flash on our camera is a trifle militant, and it can make things come out pretty bright.  You'll be able to see on a couple of these shots what almost looks like snail trail type stuff. It's actually the devlan mud reflecting the light back towards the camera.  Annoying.

Another side effect of the flash is that's shown up a couple of places where the grey undercoat is still showing through. This is kind of good, as I can now touch up these previously hidden spots before I move on to the next stage of painting...

First off, three pics with the  main turret off:


And now some with the main gun turret on:


Well, next up, I'll be bringing the Dheneb Stone up to off-white, and mouldifying (that's not even a word) the green.  I'll also be adding some rust to the metal work, and if I'm brave enough, try my hand at some weathering... Fortune favours the brave, but the sensible don't want to make their models look even worse than usual!


Related Posts Plugin for WordPress, Blogger...